1.0版本 (2019-05-18):
适配redhat 6.9 64位系统(rhel-server-6.9-x86_64-dvd.iso);
自动配置环境变量
自动配置lmgrd开机启动
自动安装libXaW、redhat-lsb、compact-libstdc依赖库
自动安装xterm、java
自动为所有用户安装sentaurus宏
手动安装jedit
手动配置swb内的jedit环境
Sentaurus TCAD installation can be quite complex, especially for our microelectronics students. Based on previous installation experiences, I have developed a one-click installation tool for Sentaurus TCAD 2016.03 version using Shell scripts. The tool aims to help beginners, especially those who are not familiar with Linux, to quickly install the 2016.03 version of Sentaurus TCAD on servers and virtual machines.
Before we proceed, I want to clarify that all installation packages and methods used in this tool are sourced from the internet. I have only organized and automated the installation process. The copyrights of Sentaurus and related software belong to the original software companies. This software can only be used to deepen your understanding of the microelectronics industry. You can use it for personal learning and trial purposes, but do not use it for institutions or individuals who have not purchased Synopsys services, academic paper publications, patents, or other commercial purposes. Any misuse will be at your own risk. If you require commercial use or services, please purchase the genuine software from the Synopsys official website.
The installation tool I have developed is freely distributed for students to use, but please do not sell it online or use it for commercial purposes. Thank you for your understanding.
Version Information:
If time permits, I will continue to improve this tool.
rhel-server-6.9-x86_64-dvd.iso
Installation Files:
Currently, only 64-bit Redhat 6.9 version of Linux system is supported. Please prepare the following system image.
Under the “tcad” directory, you will find the installation package for TCAD, and under the “scl” directory, you will find the installation package for SCL. Please follow the installation package download methods and installation tutorial.
PS: Don’t be intimidated by the lengthy installation tutorial. Two-thirds of it is about installing Linux.
You may have the following three scenarios:
- Installation in a virtual machine.
- Installation on a new server.
- Installation of dual systems on a PC.
These three scenarios have slight differences in the tutorial, so please pay attention to differentiate them to avoid data loss on your computer. The following example will focus on installation in a virtual machine to demonstrate the entire process in detail.
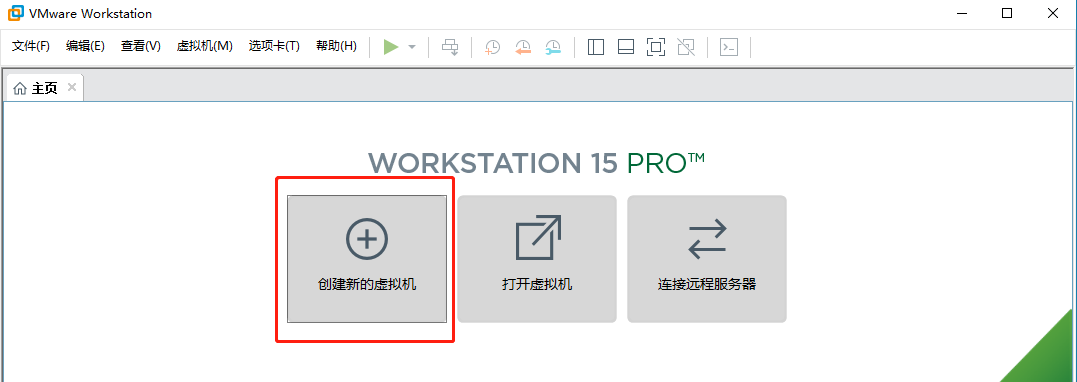
- Set up a new virtual machine.
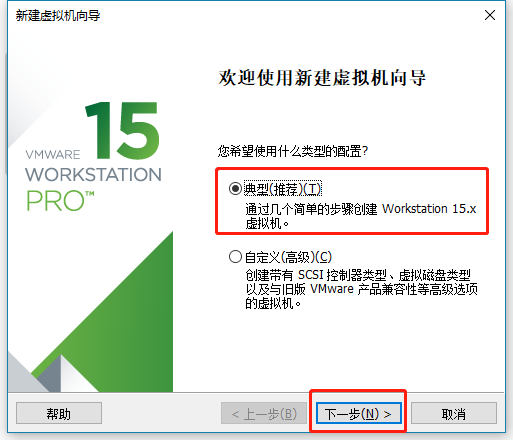
Open VMware software (recommended version 14 or above) and select “Create a New Virtual Machine”.
Choose “Typical” setup.
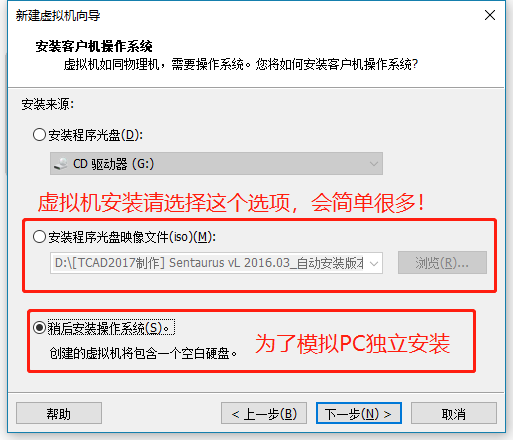
Select the installation method. Here, there is a difference:
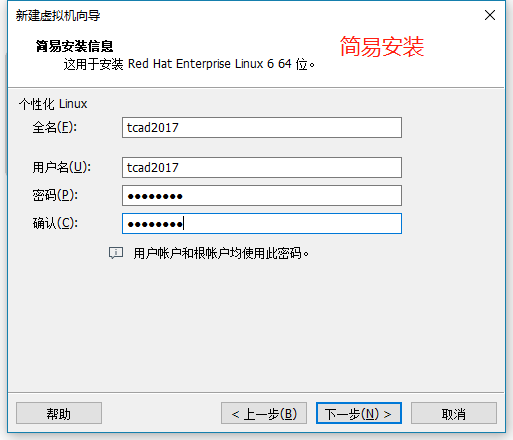
Option 1: If you are installing in a virtual machine, select the option “Installer disc image file” and click “Browse” to select the Linux image. Then click “Next” and set up the username and password. VMware will start the simplified installation and automatically install the system.
It is recommended to set up a username and password during installation.
Option 2: For the option “I will install the operating system later”, the installation process is similar to installing Linux on a standalone server, which is more complex and cumbersome. To cover the installation on a server, I have chosen the second option “I will install the operating system later”.
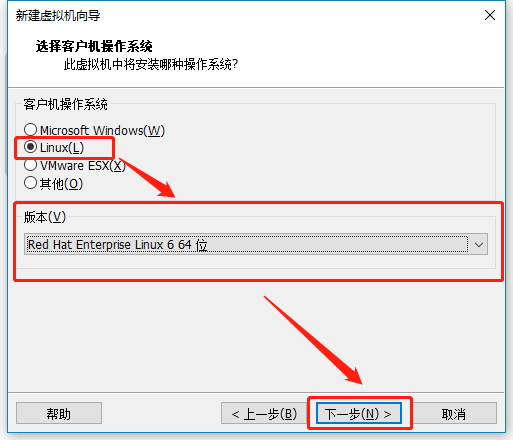
Select the operating system and choose Linux and Redhat 6.
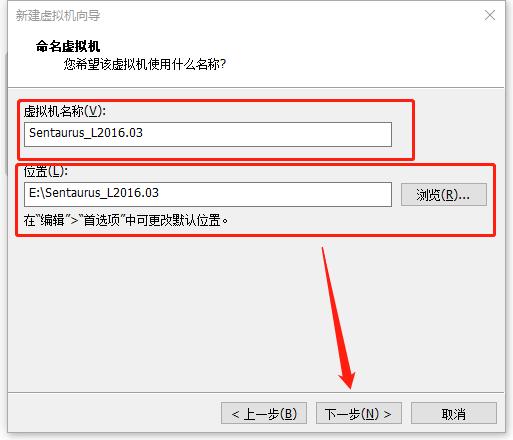
Set the name and location of the virtual machine.
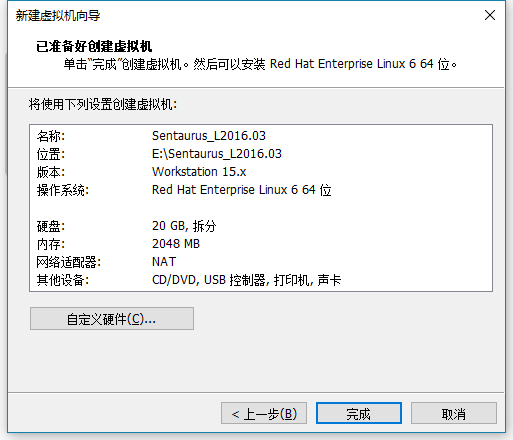
After setting up the hardware, select “Finish”.
- Start the virtual machine.
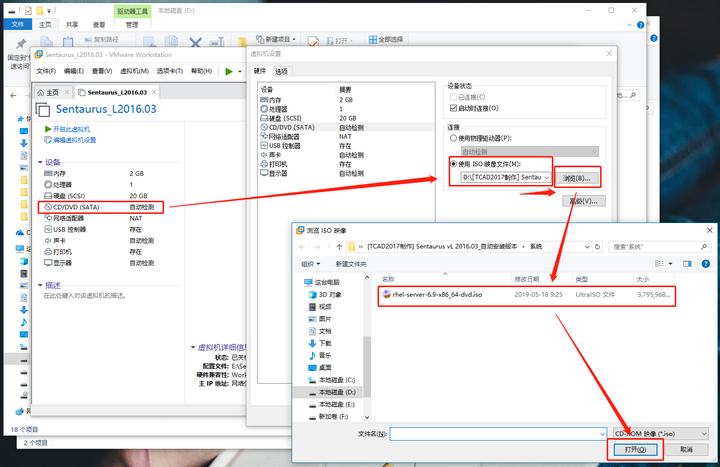
After completing the above steps, it’s time to start the virtual machine. Before starting the virtual machine, load the Redhat Linux image file onto the virtual optical drive so that the virtual machine can recognize it during startup.
Set the image file.
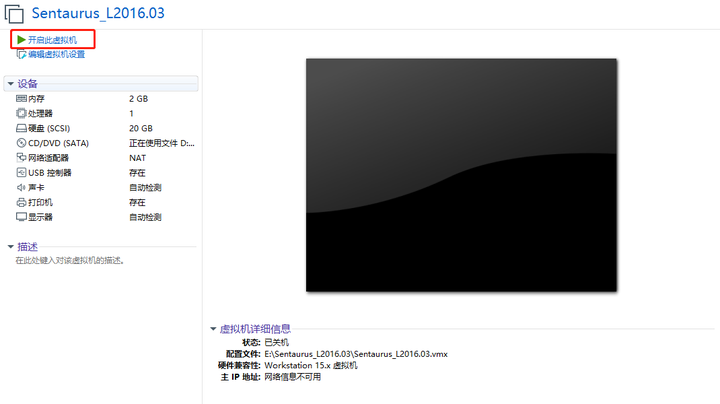

Set the virtual machine image file to the Redhat ISO image file.
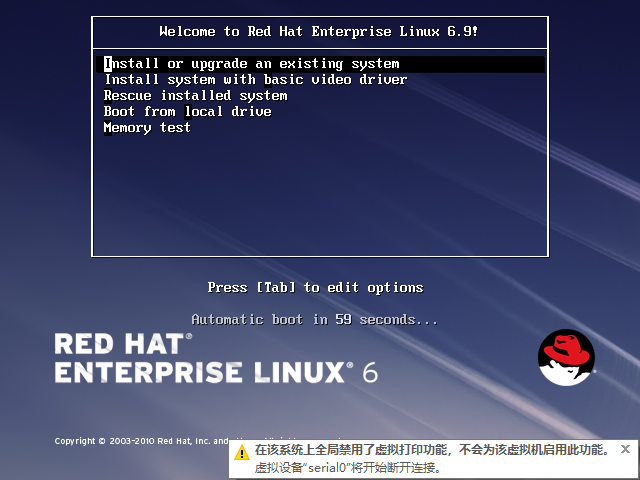
Start the virtual machine.
Press Enter to start the system installation.
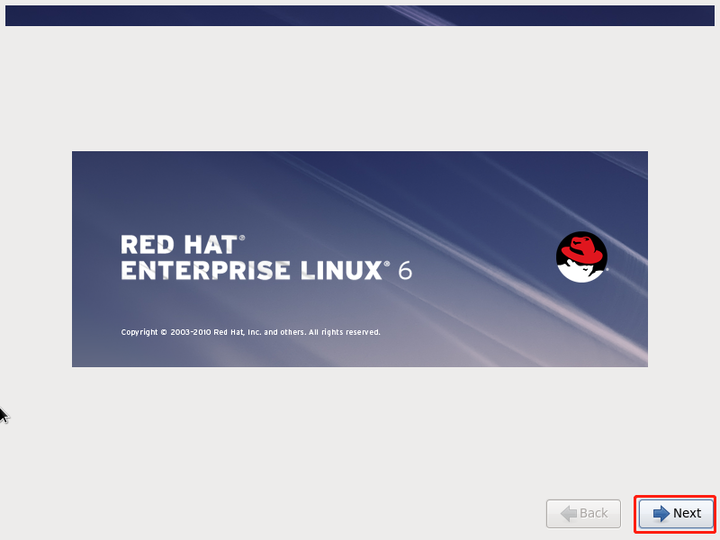
Select “Skip”.
Select “Next”.
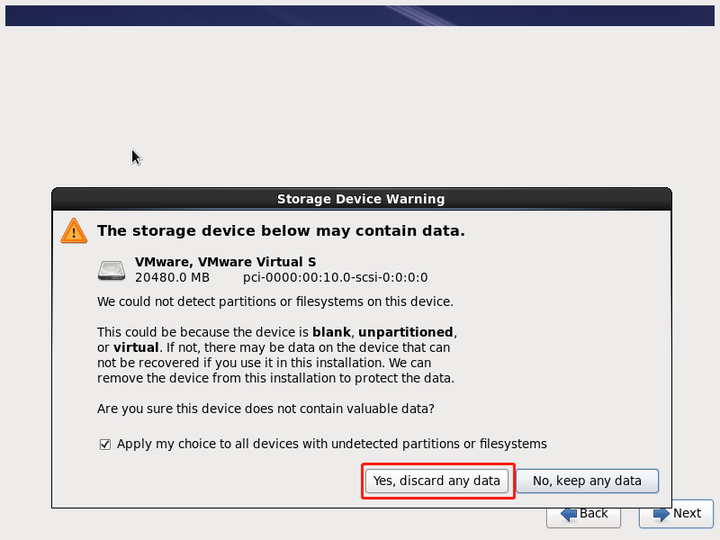
Then, it’s all “Next” until you reach the storage space settings. If you are installing on a server or setting up dual systems on your PC, please pay attention and choose according to your server’s actual situation. Choosing incorrectly may result in data loss on your computer.
Select “Discard any data” to erase all data.
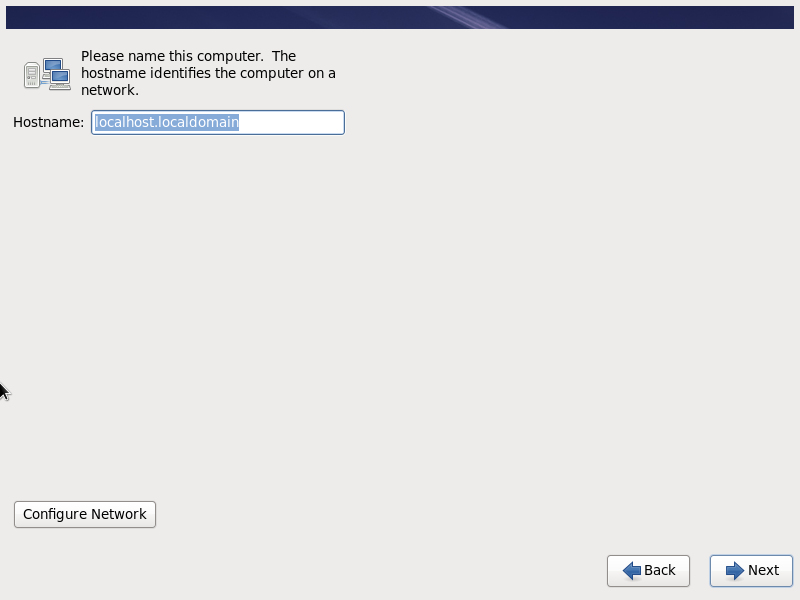
Set the hostname to the default and select “Next”.
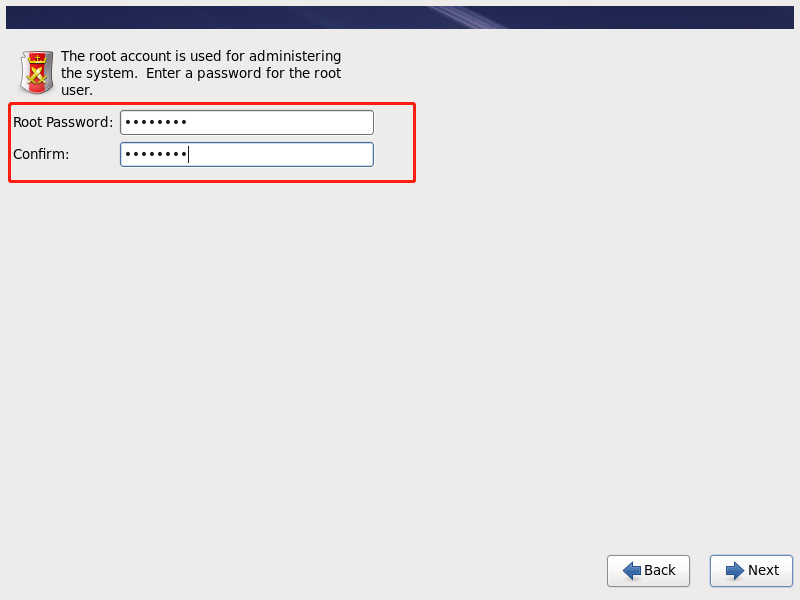
Then, it’s all “Next” until you set the root password. Please set it and remember the password as it will be used later.
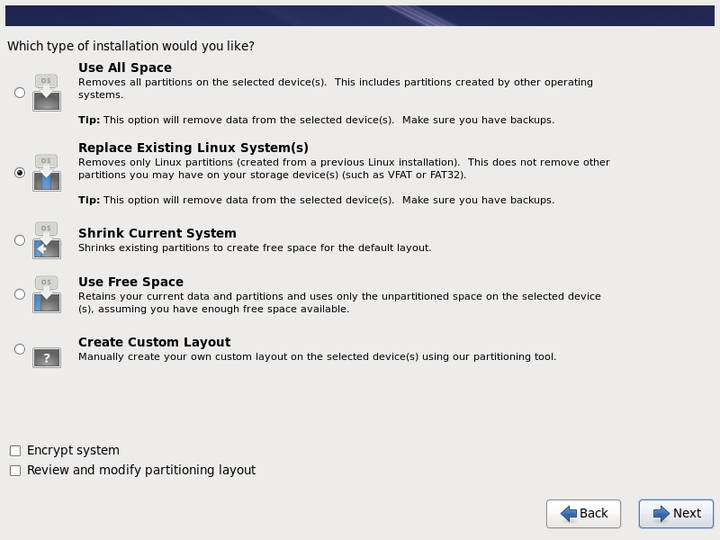
The following options are also crucial, so choose carefully to avoid data loss on your computer.
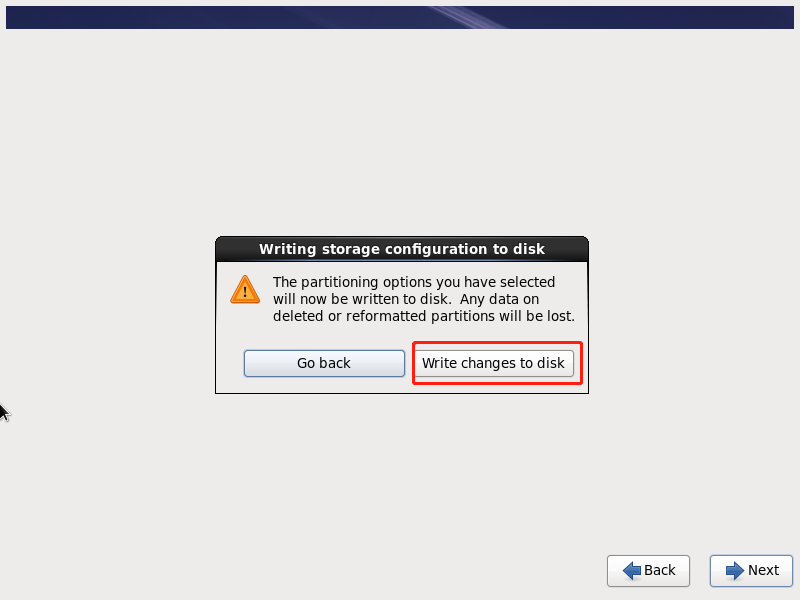
Select the system space.
Confirm the settings and write to the hard disk.
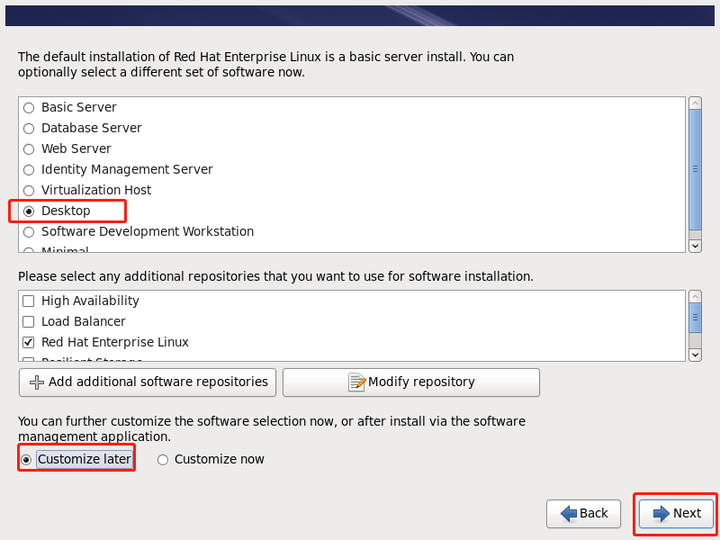
Select the software package. Please make sure to choose the “Desktop” option; otherwise, there will be no desktop after installation.
Set the software package, and be sure to choose “Desktop”.
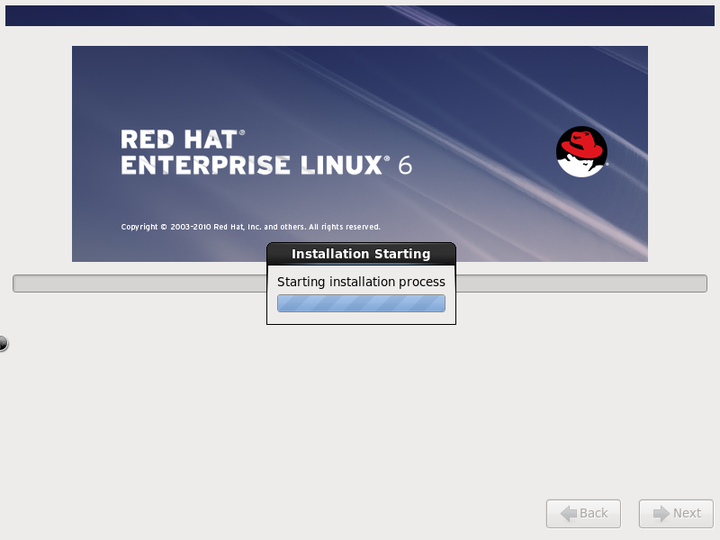
Then, the system will start installing.
System installation in progress.
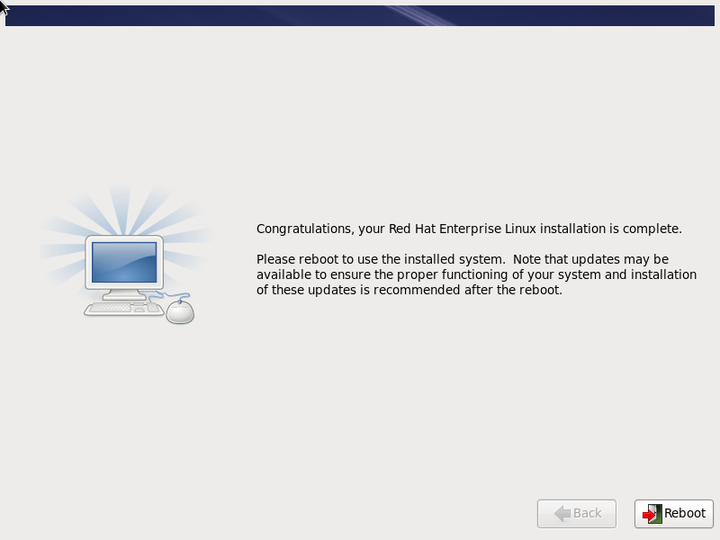
After the installation is complete, click “Reboot” to restart.
At this point, the system installation is complete, and after restarting, you can enter the system.
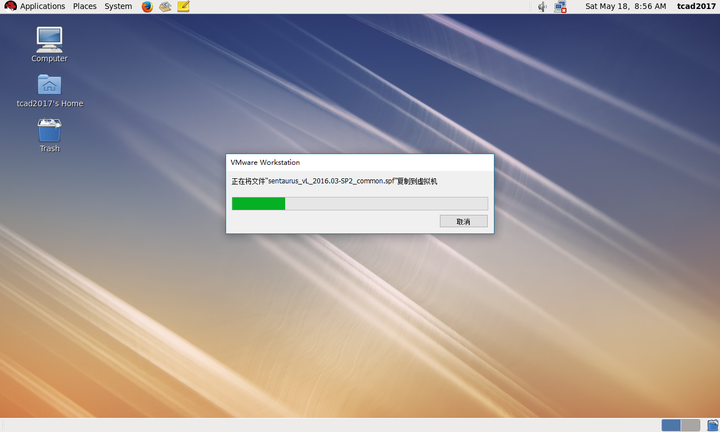
Copy the entire folder of the installation package directly to the Linux desktop. To do this, select the installation package, press Ctrl+C, and then press Ctrl+V inside the virtual machine (if copy-paste doesn’t work, make sure VMware Tools is installed. Please refer to search engines for more details).
Copying the installation package.
Note: Due to the large size of the files in the “tcad” directory, there may be transmission errors that result in damaged installation packages. If this happens, please copy the “tcad” folder again.
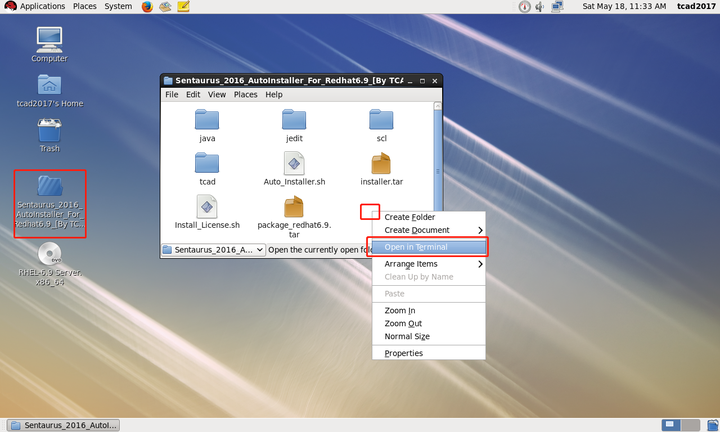
Before installation, please ensure that the network card of the virtual machine or server is enabled. Offline installation does not require internet access, but the network card needs to be enabled. Open the directory where the installation package is located. Right-click on a blank space in the folder and open the terminal. Enter “su” to switch to the root account. You will need the root password here. After successfully switching, continue to the next step. Enter “chmod 777 *” to give executable permissions to the installation files. Enter “./Auto_Installer.sh” and press Enter.

su #回车,然后输入root密码
ls #查看文件列表确认Auto_Installer.sh文件在当前目录下
chmod 777 * #赋予安装包可执行权限
./Auto_Installer.sh #启动自动安装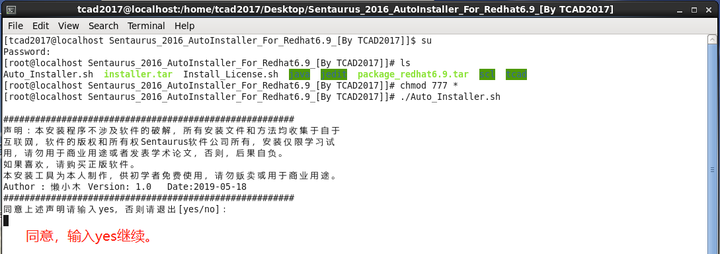
Opening the terminal.
Starting the installation tool.
The specific commands are as follows:
Please agree not to use this software for commercial purposes. If you agree, enter “yes” and press Enter.
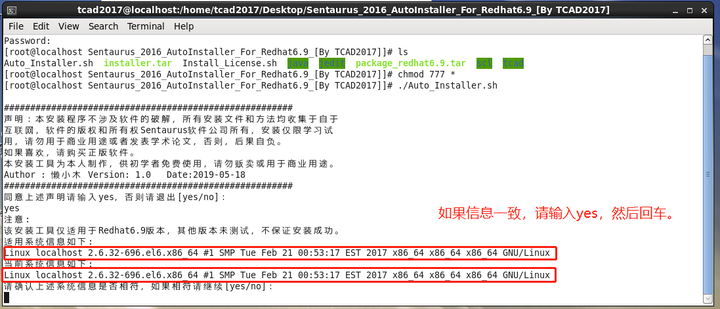
Since this installation tool is only compatible with Redhat 6.9 system, please confirm if your system information matches. If it matches, enter “yes” and press Enter to start the installation.
Then, the installer will begin installing the software. The installation tool will automatically install the software, configure startup, environment variables, and install necessary libraries. Please wait patiently for the program to complete. The process may take around 2-5 minutes, so please do not close the interface.
During the installation process, there will be information output. Please pay attention to the following information:
INFO: Installation for L_2016.03-SP2 release of product sentaurus has finished successfully.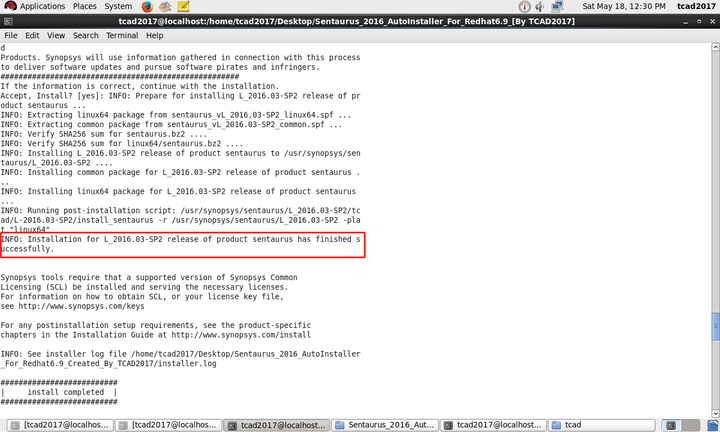
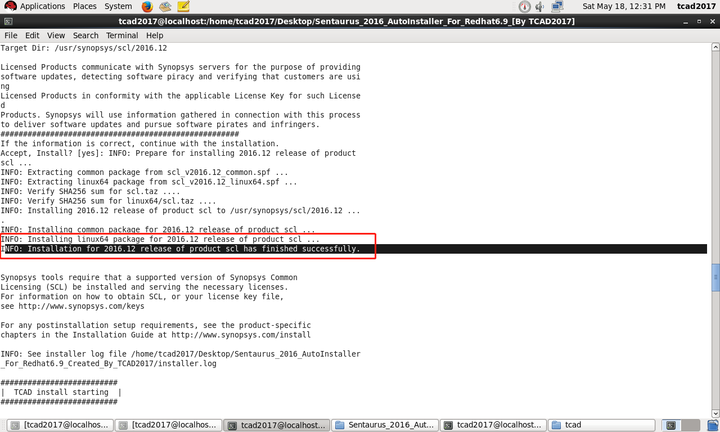
ERROR: Extracting linux64 package from sentaurus_vL_2016.03-SP2_linux64.spf failed: release/L_2016.03-SP2/prod/sentaurus/package_infoThis indicates a successful SCL installation.
This indicates a successful TCAD installation.
The information in the image indicates a successful TCAD installation.
The information in the red box indicates a successful SCL installation.
If you see “Error” or “Failed,” it means the installation package is damaged. Please copy the “tcad” folder to the virtual machine again and rerun Auto_Installer.sh.
SERVER localhost 000ccca58cc9 27000
VENDOR snpslmd
USE_SERVER
INCREMENT SSS snpslmd 1.0 12-dec-2020 1 9ECE8990683C0361C9A0
	VENDOR_STRING="1BB01 D774B 88C26 38405 96763 AEEFD 8F302 C7B67
	773C4 542" ISSUER="Synopsys, Inc. [1/8/2014 0:43:49 26356 3.16.2]"
	NOTICE="Licensed to student@eetop [DO NOT DELETE/MODIFY SSS OR ANY
	OTHER KEYS IN THIS FILE]" SN=RK:0:0:1
PACKAGE snps_lic_1 snpslmd 2019.2019 10A030F1A319D126BD85 COMPONENTS="3D
	3P " ck=205
PACKAGE snps_lic_2 snpslmd 2019.2019 E0307051D19BB70DC913
	COMPONENTS="A3200DX A42MX A500K A54SX A54SXA A7 AARKOS-A
	ABB_CHCRC_LIBRARY ACEX1K ACS ACT2-1200XL ACT3
	AdvanceCalibration_all AdvancedCalibration_all AI AIM_DEBUG
	AIM_DEBUG_MEMSSE AIM_DECRYPT AIM_DEVELOPER AIM_DEVELOPER_MEMSSE
	AIM_ENCRYPT ALTGEN1 ALTGEN2 AN-Impl3D AN-Impl3D_all AN-Impl3D_ise
	AN-Impl3D_ise_all APACM APATD APCS APDP APEX20K APEX20KC APEX20KE
	APEXII APGA4AP APGACS APGADP APGAHPO APGApwr APGASolar APGASolarII
	APGATime APHPO Apollo ApolloGA APPower APpwr APRV APSolar APSolarII
	APTime APXtalk ARKOS-A ARKOS-B ARKOS-C ARKOS-D ARKOS-E ARKOS-Ice
	ARKOS-Mcomp ARKOS-Rtlcomp ARKOS-Scomp ARKOS-Simul ARM7TDMI Astro
	AstroBeta AstroExp Astro-Express AstroGA Astro-MV AstroRail
	Astro-Rail AstroRailSA AstroSpecialBeta AstroXtalk Astro-Xtalk
	ATMEL ATMWB_ATMLAYER ATMWB_UTOPIA AU AUSP AUT_NUMBER_MAJOR_PACKAGES
	" ck=245
......以下省略很多很多很多行~
After the installation is complete, you will see the hostid and hostname information. Please record them and use this information to generate the license.dat file (this article does not cover cracking, please search online or visit the eetop forum for more information. Please support genuine software). A properly formatted license.dat file should look like this:
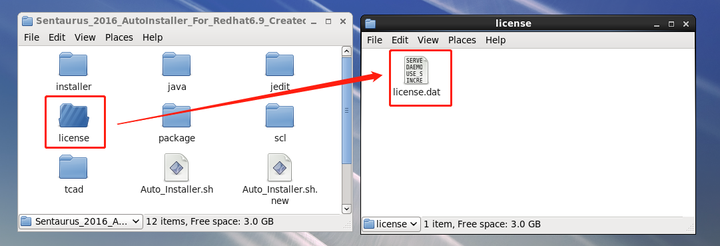
./Install_license.shNote: If you have obtained the license.dat file, place it in the “license” folder of the installation package, and the file name must be “license.dat”.
Place the generated license.dat file in the “license” directory of the installation package.
Then, run Install_license.sh by entering the following command in the installation package directory (using the root account):
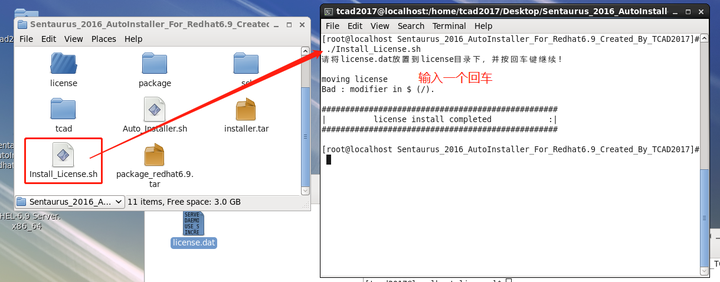
Press Enter, and the license will be imported.
Finally, enter “lmgrd” to start the license, and all installations will be completed.
If the license fails to start, it may be due to an invalid license.dat file. After modifying the license.dat file, repeat step four until the license starts successfully.
Regarding license restart, please refer to:
If the license file activation is successful, you can run all modules.
Install jedit and Sentaurus macros (optional, not essential for Sentaurus operation).
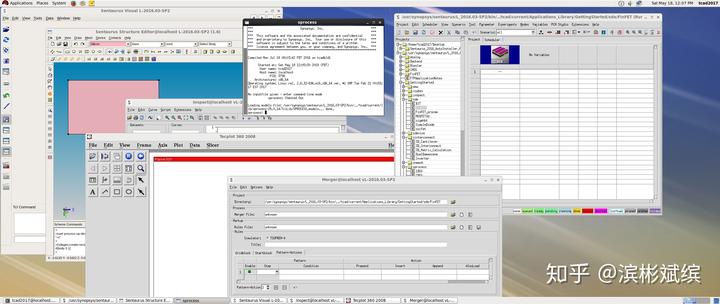
The method is the same as before. Log in with the root account and run ./Install_jedit.sh. A jedit installation interface will appear, click “Next” for all options.
This program will automatically detect all users and install Sentaurus macros for all users (except root).
Then, in the SWB settings, change the editor to jedit. At this point, all installations have been completed.
For specific configuration methods, please refer to:
In conclusion, if you encounter any problems during the use of this tool, please leave a comment below, and I will respond and make modifications as soon as possible.
Lastly, I have conducted a live session on Zhihu about getting started with Sentaurus, where I discussed the basics and basic usage of Sentaurus TCAD. You can click the link below to view it.
The live session includes 84 minutes of audio, 3 hours of demonstration videos, and a discussion group with 300 participants.
Feel free to follow the official account “半导体器件” (Semiconductor Devices) on WeChat by searching for “半导体器件” or “SemiDev” (without spaces in between).
 量子哈希
量子哈希


